R6 Fairing Conversion
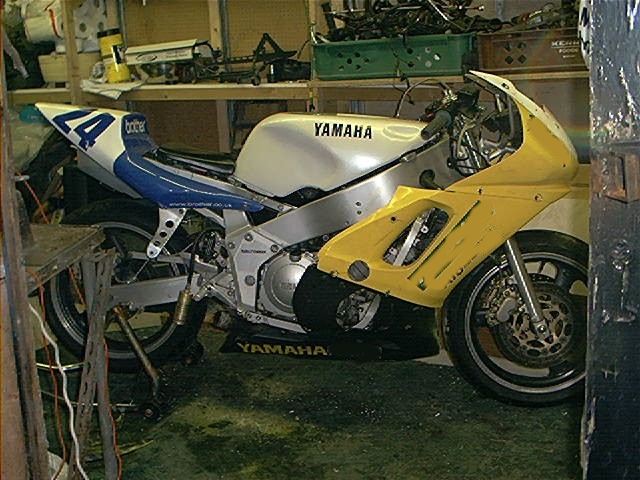
One of the pitfalls i've found with the FZR is it just looks dated compared to the newer bikes around. Bearing in mind that 15 yr old bikes will age, I thought it would be good to update its looks by strapping on an R6 race fairing. This is the progress from start to finish, broken down into two parts:
Part 1 - Making it all fit
Part 2 - Painting it up
This is how the bike looks with the new fairings fully painted up and fitted to the bike.
R6 Fairing Conversion - making it all fit
December 2003
Get a hold of a full set of battered R6 race fairings minus the screen for £75. Certainly battered and bruised, obviously been down the road a few times but nothing that a bit of hard work and preparation won't sort out.
1st thing to do was to completely remove all the old plastics & just leave the bear chassis. That was the easy bit.
As i'm using the bike for racing/track work, i've decided to remove all the surplus crap that just isn't needed, if I can remove it, it's gone :)
Tail unit
This is the simplest part to fit so is going to be the 1st. On the 2tk, there are a couple of brackets that can be done away with, along with the wrap around metal frame which holds the rear light + shock reservoir in place.
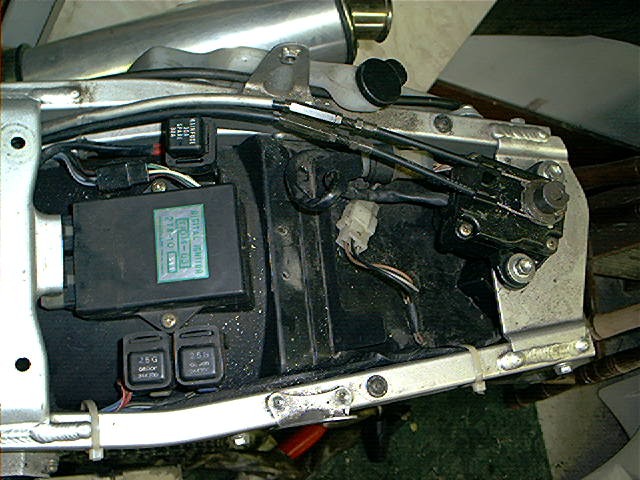
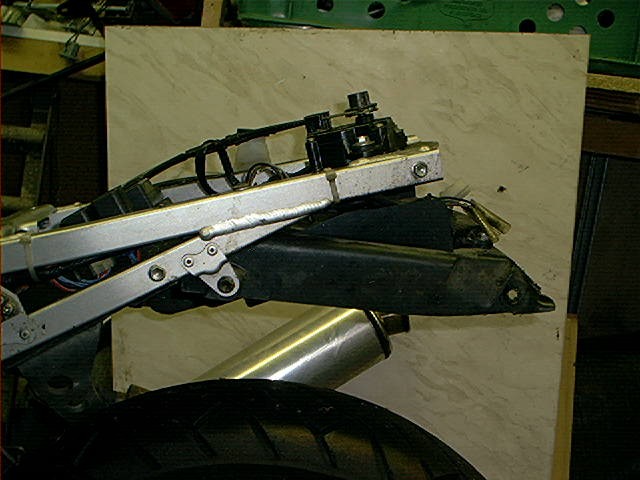
Once that's done, i've removed a couple of the brackets and moved the CDI to its new location - had to do this as it would clout the lip on the tail otherwise. All I needed to do was to knock up a small extension bracket & hey presto, one moved TCI.
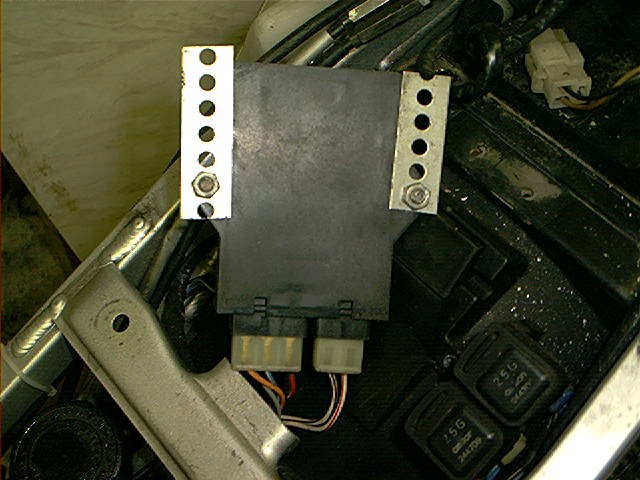
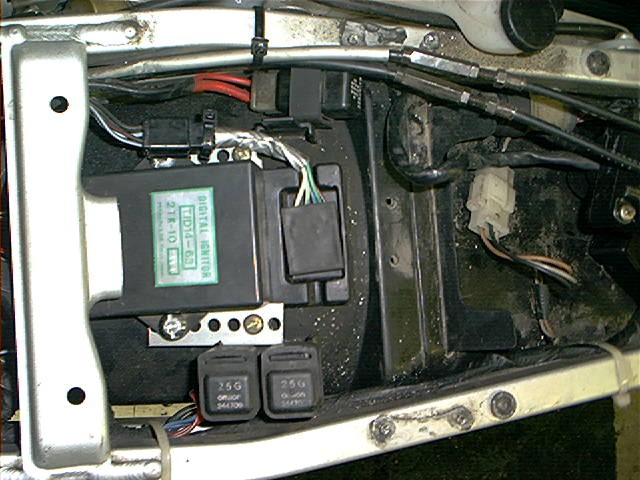
Next job was to remove the crappy plastic undertray. The previous owner to me had hacked it about so was really tatty. The intention is to replace it with aluminium sheeting instead which should help clean up the back end.
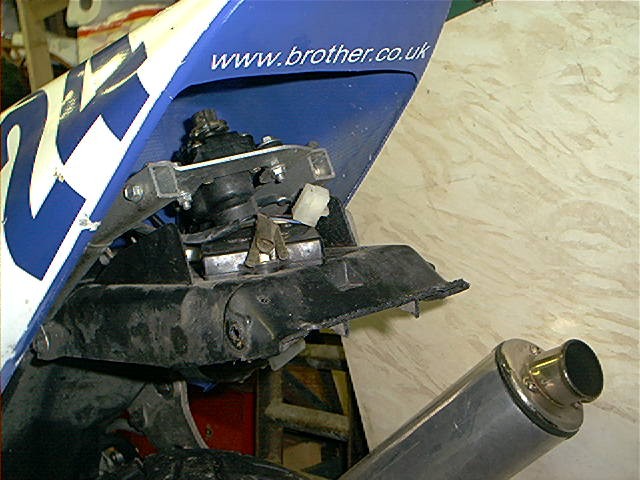
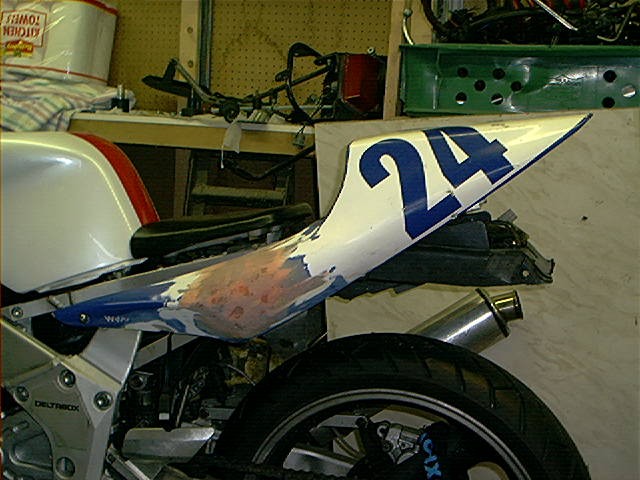
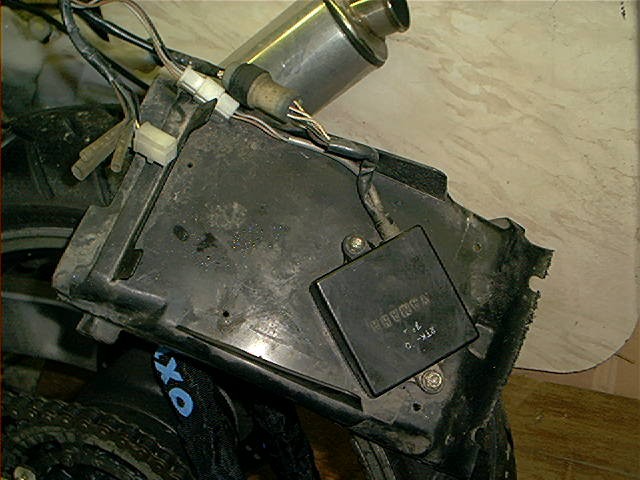
As you can see from the pics above, it's messy with the undertray in place. All I need to do is remove the black box of tricks onto the new mounting plate.
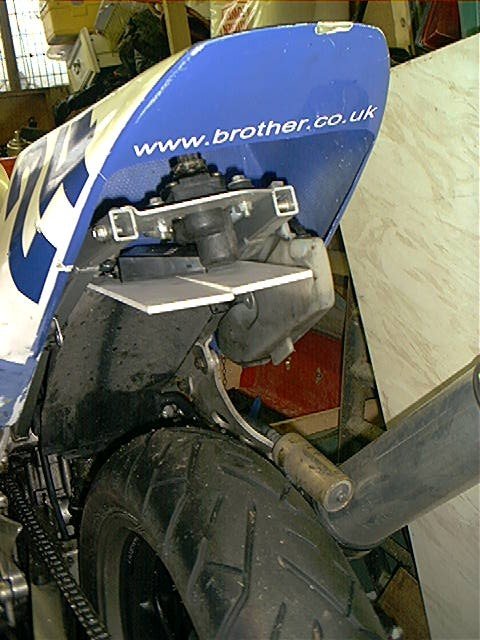
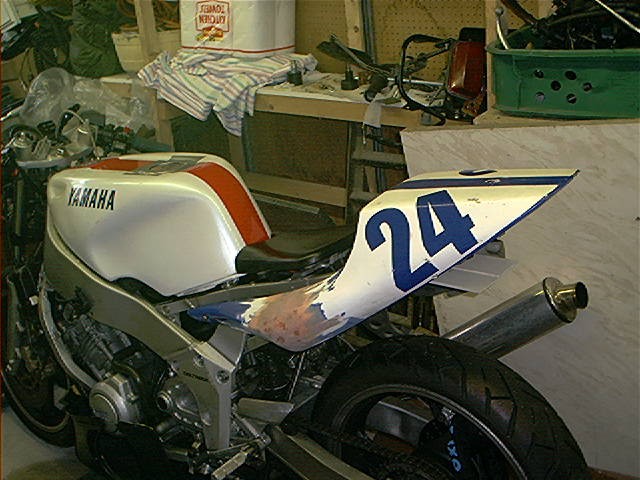
I've actually been able to use the existing mounting points where the original box type fairing used to screw to under the tank. I may well alter these by knocking up a small bracket to raise the front lip approx an inch so that the lines meet more with the tank rather than separating it as it does in the pic above.
March 2004
Well yes it's took me till now do start doing any more with it. Mainly cause it's been so bloody cold this winter, just not had the inclination to get in the shed to do anything!
The 1st thing I needed to do was source a suitable front fairing bracket. Now I have a spare FZR screen brace that I was going to hack away and reweld but decided that i'd rather have something looking the part even if it cost me money!
Managed to find an R6 race fairing bracket which is aluminum so extremely light & comes with DZUS fasteners to clip the fairing in place. What brilliant little devices these are, so much so that i've decided to use them on all the panels where I can.
Now I've had to bend & manipulate this bracket to make it fit effectively but it seems to be fine. One thing to note is that only the top mounting hole will fit the bike, you could redrill but i've found the one is secure enough for my usage.
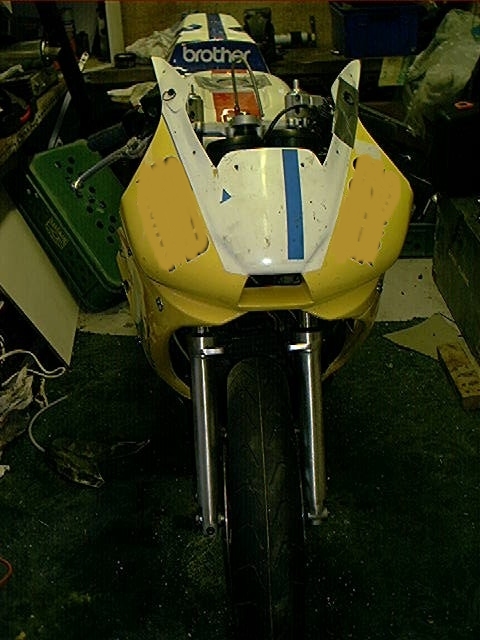
The clocks were another matter entirely though! The R6 fairing cowl is a lot slimmer in the area of the clocks. This means that you cannot use the FZR clock housing hence you need to remove the clocks from it. Do it slowly as there's a few wires to remove & replace (assuming you wanna keep the original which I did).
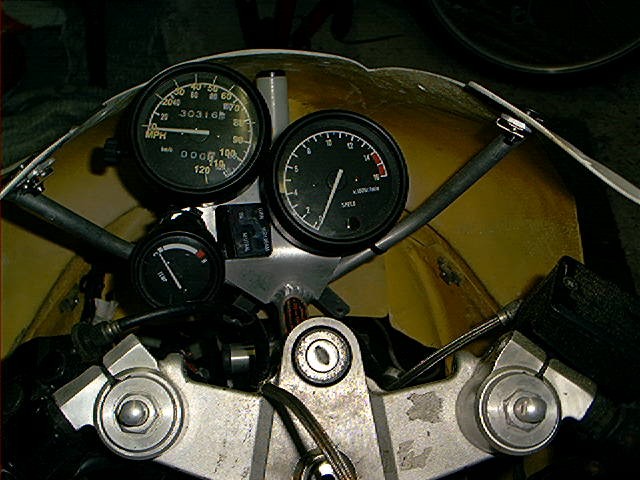
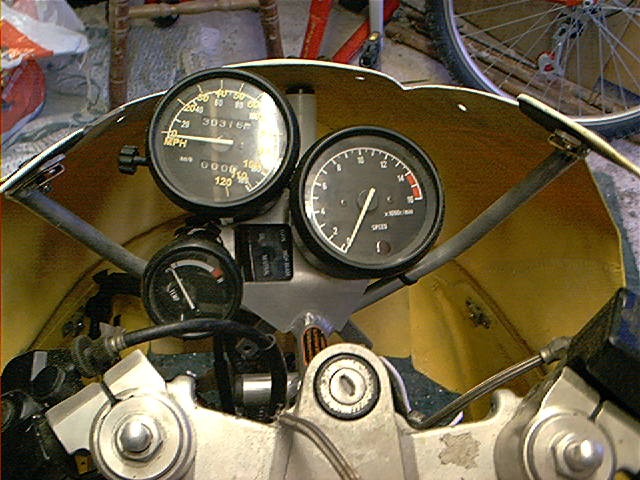
Fitting the top cowling was a doddle, just clipped it in place. Then the side panels & finally the lower cowling. This is where I had to make some modifications. As the front wheel would clash with the forward lip of the fairing, i've had to cut away about 1.5" of the bodywork. This will be glassed over and then filled/painted so you'd never know the difference.
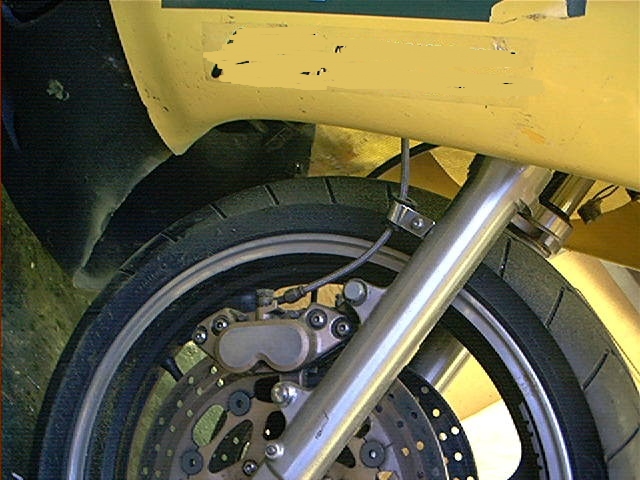
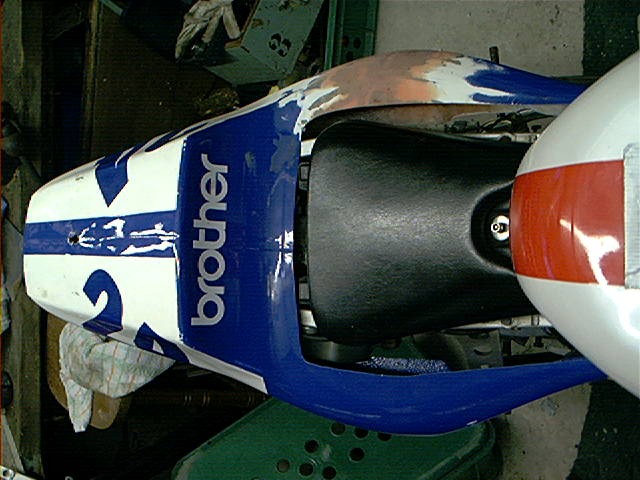
Result so far is the fairing fits and is now ready for the final small brackets to be made before it goes off for painting.
R6 Fairing Conversion - painting it up
This is the original fairings after some small prepwork i.e. initial preparation included filling unwanted holes and removing old paint
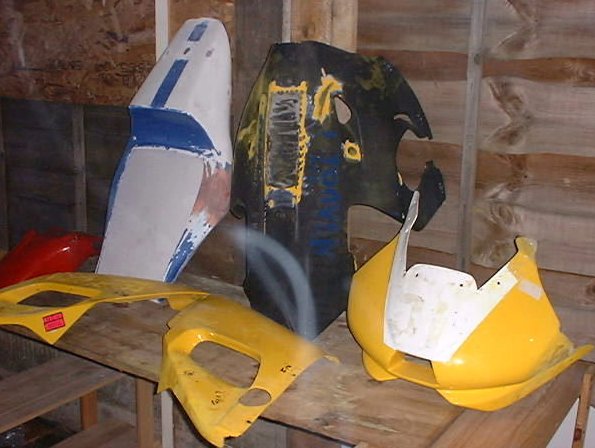
Panels are treated to a covering of barcoat to stop reactions to paint .
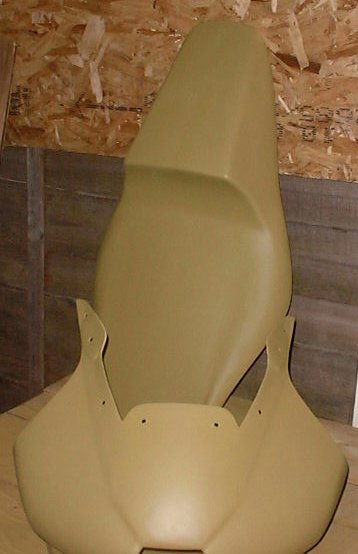
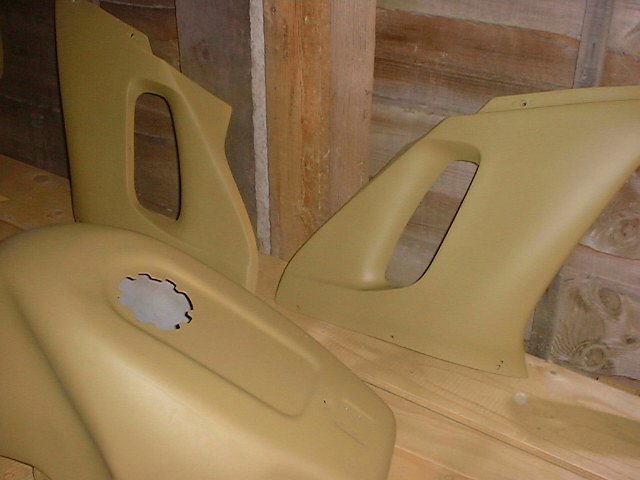
After barcoating comes a good covering of Primer.
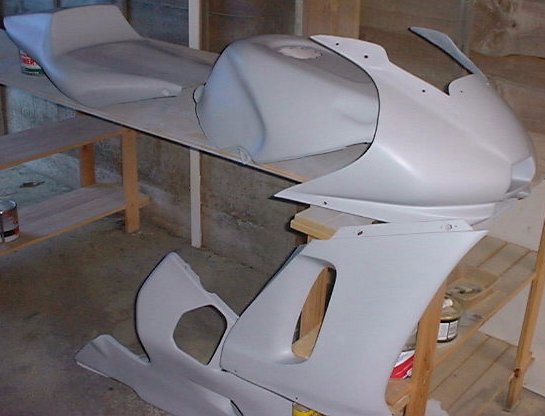
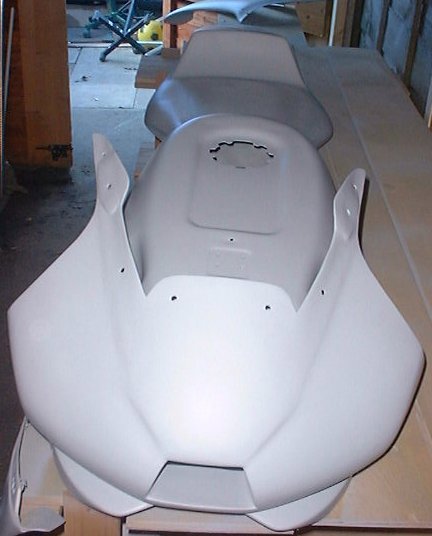
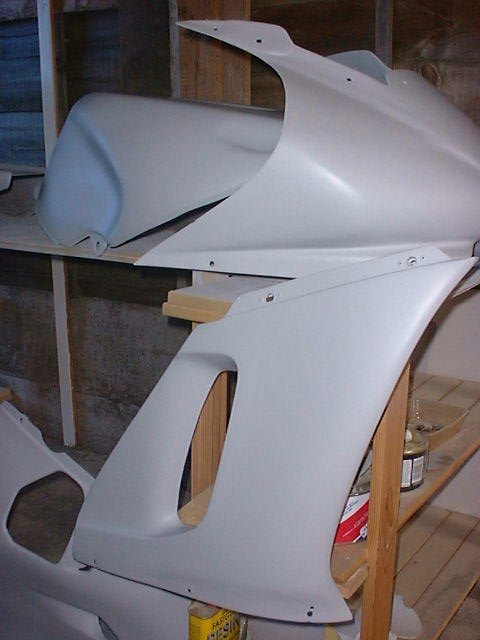
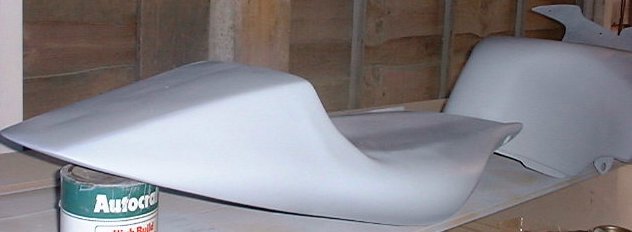
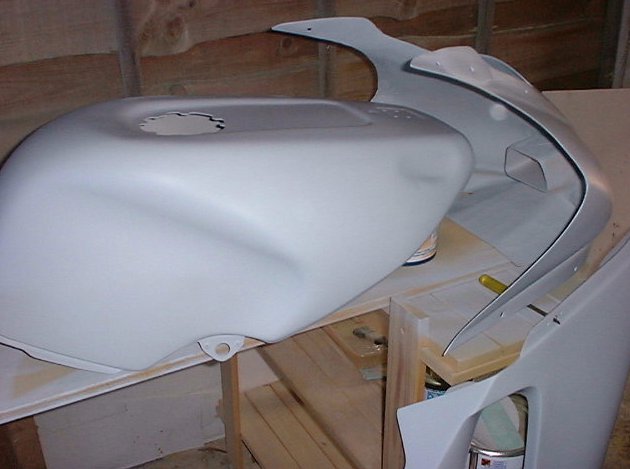
Next comes some good old elbow work , all panels need flatting down using wet n dry to obtain a smooth keyed surface to apply paint to.
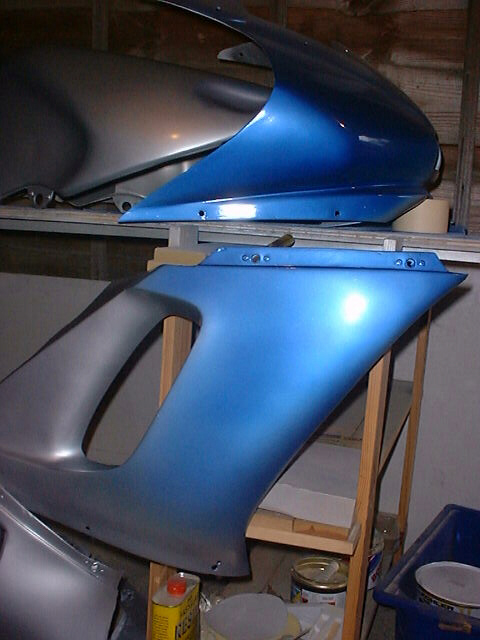
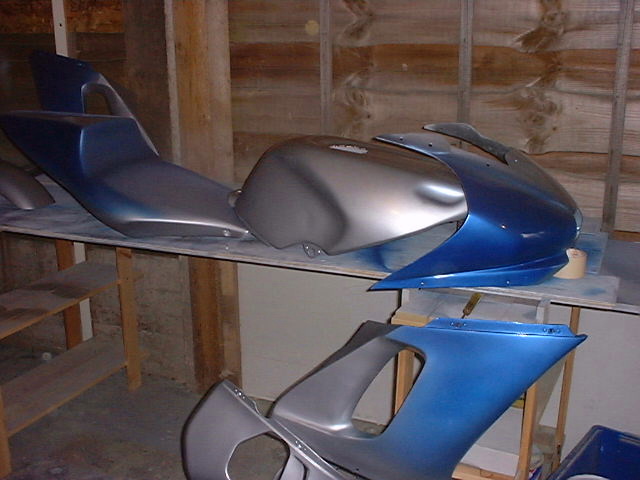
Silver base with Blue highlights on curved parts.
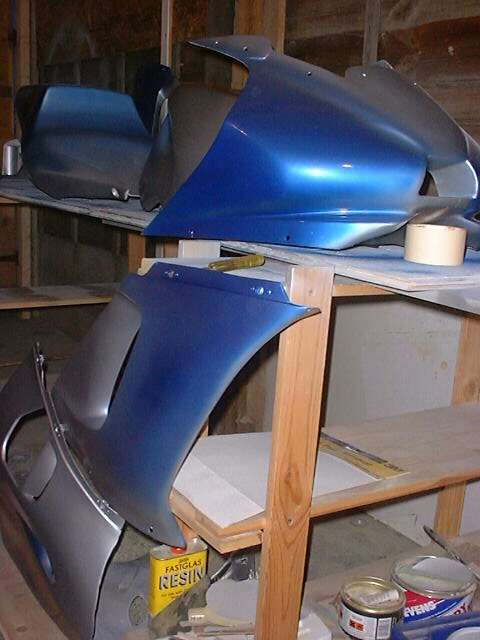
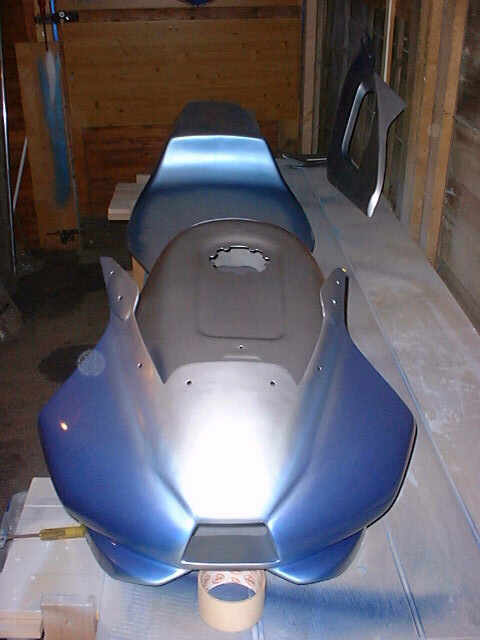
Blue is lighter on top leading to dark blue at outer edges.